Embarking on a Seamless Donation Journey
In today’s digital age, a well-crafted online donation form can be the difference between meeting fundraising goals and falling short. Donorbox donation forms have emerged as a top choice for nonprofits, community groups, and individual fundraisers looking to streamline their online giving experience. From seamless integration with websites to robust customization options, Donorbox empowers organizations to design, launch, and optimize donation forms that convert. Whether you’re a first-time fundraiser or a seasoned development professional, understanding how to set up a Donorbox donation form step by step is crucial. In this guide, we’ll walk you through every stage of the process, ensuring your form not only looks professional but also drives maximum contributions for your cause.
Laying the Foundation: Creating Your Donorbox Account
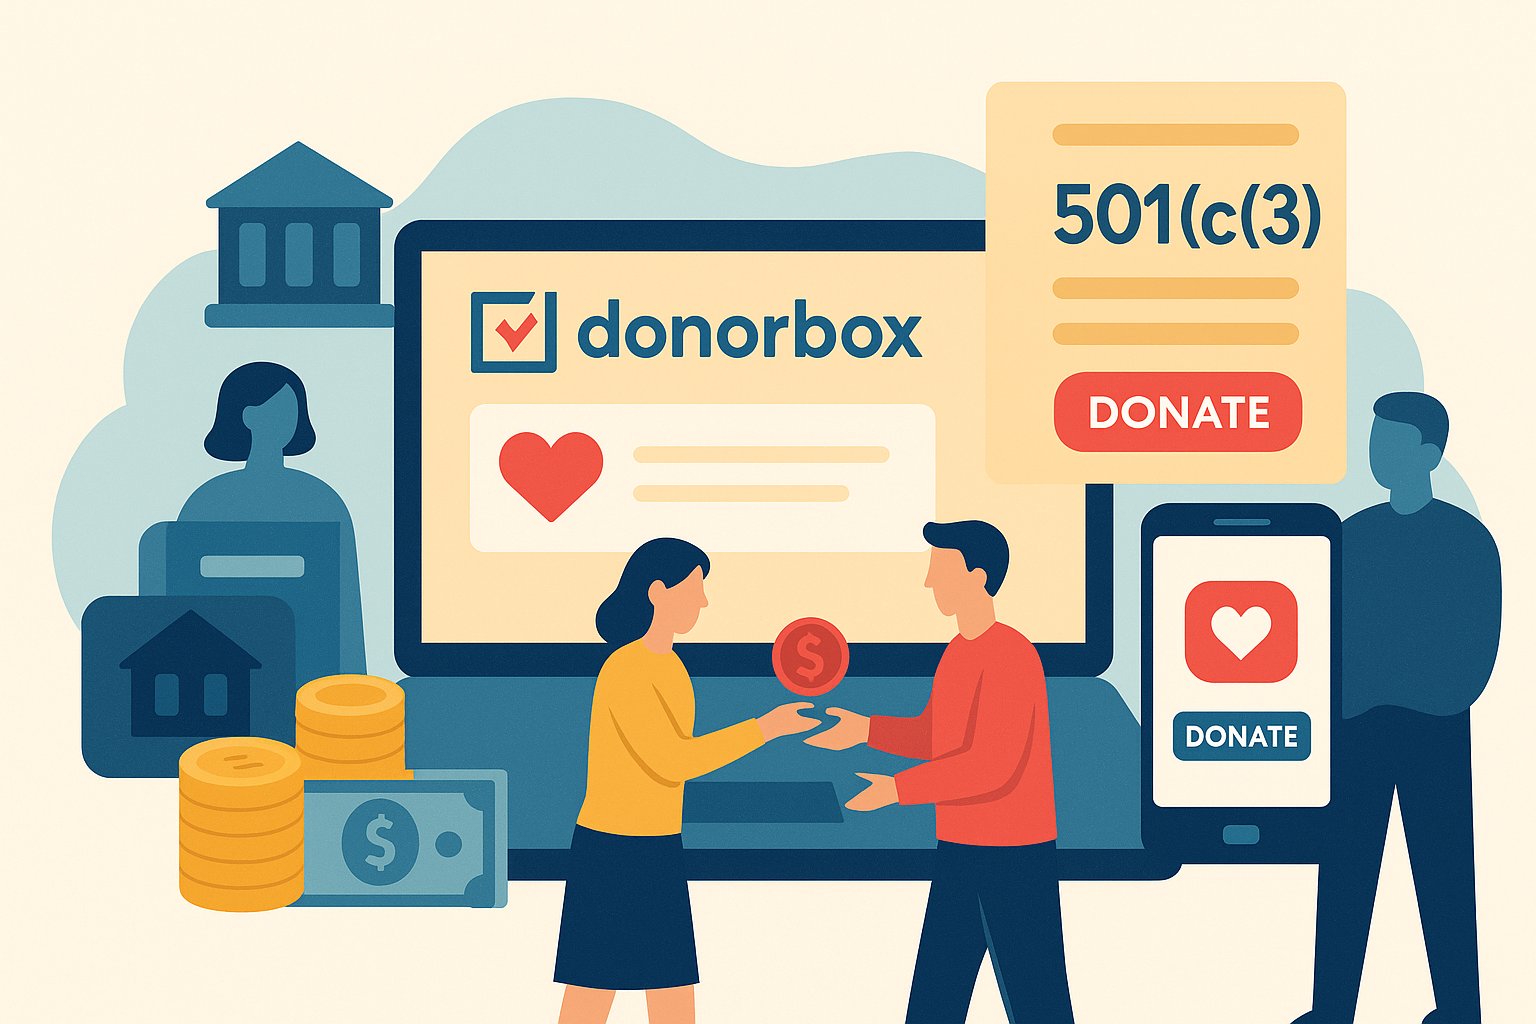
Before diving into form creation, you need a Donorbox account. Visit the Donorbox homepage and click on the “Get Started” button. You’ll be prompted to provide basic information, including your organization’s name, email address, and a secure password. Ensure the email you use is one you check regularly, as Donorbox will verify your account and send important notifications. Once you confirm your email, you’ll gain access to the Donorbox dashboard—a control center for all your fundraising efforts. If your organization is a registered nonprofit, have your 501(c)(3) details—or equivalent documentation—at hand. Donorbox may request verification to enable certain features, such as accessing nonprofit fee structures or activating Gift Aid for UK-based charities.
Exploring Your New Fundraising Command Center
Upon logging in, the Donorbox dashboard greets you with a clean, intuitive interface. On the left-hand side, you’ll find navigation tabs for “Dashboard,” “Campaigns,” “Donors,” “Reports,” and “Settings.” The “Dashboard” provides a snapshot of donation totals, recent donor activity, and upcoming payouts. The “Campaigns” section is where you’ll create, manage, and edit your donation forms. “Donors” lists all contributors, along with donation amounts, dates, and contact information. Under “Reports,” you can generate exportable documents to share with board members or grant writers. The “Settings” tab is where you configure payment processor details, customize your organization’s branding, and adjust form defaults. Familiarizing yourself with these sections now will save time as you build out your first donation form.
Crafting Your First Donation Form
Click on “Campaigns” and then “+ New Campaign” to begin designing your donation form. Donorbox offers templates for common fundraising scenarios—general donations, monthly giving, event sponsorship, or peer-to-peer campaigns. Selecting a template provides a head start, but don’t worry: you can fully customize every element. Start by naming your campaign—choose a title that captures your mission and includes relevant keywords for SEO, such as “Educational Scholarship Fund” or “Emergency Relief Donations.” Write a brief but compelling campaign description that appears at the top of your form. This introduction should succinctly explain why donors should support your cause. Use persuasive, action-oriented language and incorporate phrases like “support our mission” or “help us provide immediate relief” to resonate with potential donors and enhance search engine visibility.
Shaping Donation Levels and Suggested Amounts
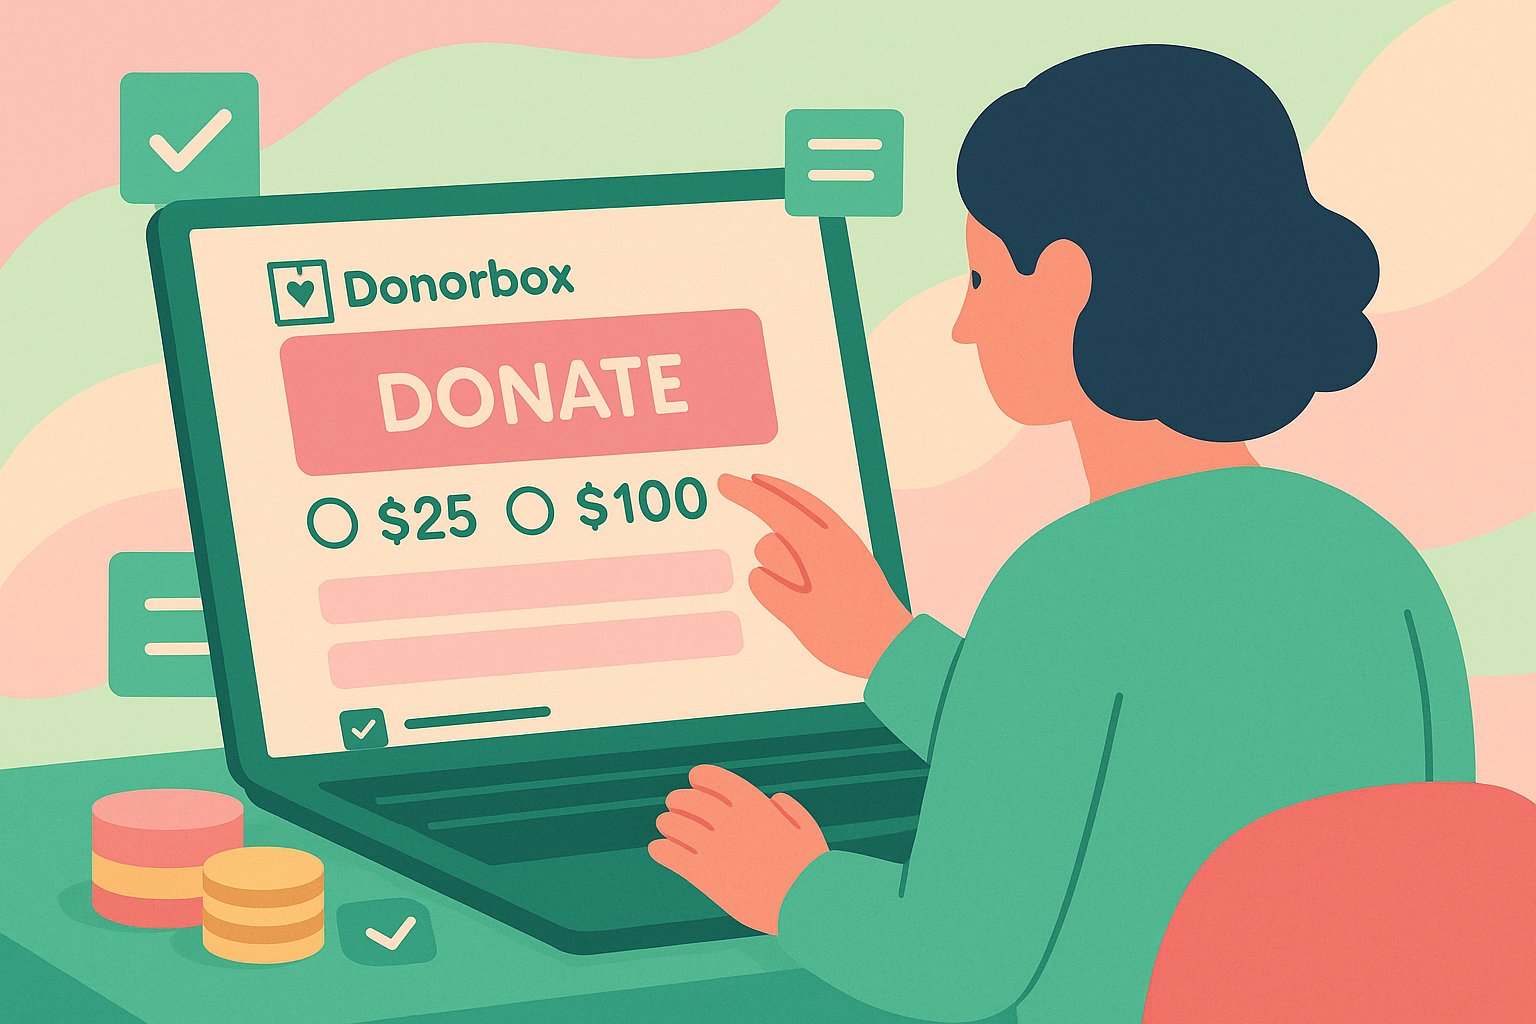
After setting the campaign title and description, scroll to “Donation Levels.” Here, you define preset amounts that donors can select with a single click—common examples might be $25, $50, $100, or $250. For each level, include a short rationale: for instance, “$50 feeds a family for a week.” These value-based descriptions help donors understand the impact of their gift. Donorbox also allows a “Custom” option so contributors can type in any amount they prefer. To optimize conversion, consider offering a variety of levels that cater to both small donors and major gift prospects. Keep your audience in mind—if your supporters are primarily individuals donating from mobile devices, ensure your suggested amounts are realistic for on-the-go giving.
Personalizing with Custom Fields and Currency Options
Donorbox shines in its ability to collect detailed donor information beyond the standard name and email. Under “Form Fields,” you can add custom fields such as “Phone Number,” “Address,” or “Company/Organization.” Customize labels to fit your organizational needs: perhaps you want to know a donor’s preferred communication channel, so add a “Preferred Contact Method” dropdown. For international campaigns, check the “Allow multiple currencies” box. Donorbox supports major currencies—including USD, EUR, CAD, AUD, and GBP—so you can expand your reach to global audiences. By letting donors give in their native currency, you reduce friction during checkout. Additionally, if you’re a UK-based charity, enable Gift Aid by toggling the Gift Aid section; eligible donors can then boost their donations by 25% with a simple checkbox.
Linking Payment Gateways and Safeguarding Transactions
A cornerstone of any successful donation form is secure, reliable payment processing. Navigate to “Settings” and select “Payment Processor.” Donorbox can connect to Stripe, PayPal, Apple Pay, Google Pay, and other major processors, depending on your region. If you choose Stripe, you’ll need to create a Stripe account (if you don’t have one already) and link it by copying and pasting your API keys into Donorbox. Once connected, Donorbox automatically handles secure credit card authorization and PCI compliance, so you don’t have to worry about data breaches. If you opt for PayPal, simply enter your PayPal email address, and Donorbox uses PayPal’s standard checkout flow. Regardless of provider, test a small donation to confirm payment processing works flawlessly. Donorbox’s encryption ensures that donor credit card information never touches your website’s server—an essential safeguard to maintain trust and protect donor data.
Branding Your Form to Reflect Your Mission
To create a cohesive donor experience, customize the look and feel of your Donorbox form to match your organization’s branding. Under “Settings,” select “Appearance.” Here, you can upload your logo and choose a header image that visually underscores your cause—whether that’s a photo of community volunteers, beneficiaries, or your organization’s office. Donorbox lets you select primary and secondary colors, ensuring that buttons and text align with your website’s color palette. For example, if your nonprofit uses navy blue and gold, input those hex codes so your donation form feels like a seamless extension of your main site. Preview the form on desktop and mobile to confirm that images scale properly and text remains legible. A polished, branded form not only enhances credibility but also reassures donors they’re interacting with a legitimate organization they’ve come to trust.
Embedding the Form on Your Website
Once your donation form is complete, it’s time to embed it on your website. Donorbox provides multiple embedding options under the “Publish” tab of your campaign. The most straightforward method is the “Embedded Form” code snippet, which uses an iframe. Copy the provided embed code and paste it into the HTML of your website’s donation page. If you use WordPress, click “Text” mode in your page editor and paste the snippet where you want the form to appear. The form will automatically resize to fit the available width, adapting to various screen sizes. Alternatively, you can use the “Overlay” embed option, which places a “Donate” button on your site; when clicked, a modal window opens with your Donorbox form. This approach keeps your page uncluttered and encourages action without navigating away. Some users prefer the “Link” embed, which generates a standalone URL—ideal for sharing on social media or email campaigns. Whichever method you choose, test the embedded form to ensure it loads correctly and that fields function as expected.
Ensuring Mobile Friendliness and Responsive Design
With more donors giving via smartphones and tablets than ever before, a mobile-optimized donation form is non-negotiable. Donorbox’s default templates are responsive, but embedding code on your site requires a quick check to guarantee a seamless user experience. After embedding, open your website on various devices—Android phones, iPhones, iPads, and different Android tablets—to verify that the form’s text, buttons, and images adjust fluidly. If you notice horizontal scrolling or overlapping elements, revisit your website’s CSS settings to ensure parent containers allow iframes to expand or shrink as needed. Avoid embedding the form into fixed-width elements; instead, use full-width sections or responsive page builders. Consider minimizing the number of fields visible on mobile; if donors see too many questions at once, they may abandon the form. Lastly, test the mobile checkout process end-to-end—from entering credit card details to clicking “Donate”—to ensure the mobile payment gateway works without glitch.
Running a Dry Run: Testing Your Donation Workflow
Before officially launching your donation form, conduct a thorough test to uncover any potential roadblocks. Create a test campaign with minimal visibility—perhaps named “Test Campaign—to avoid public confusion. Use a small donation amount (e.g., $1 or $5) and a test credit card number—if your payment processor offers sandbox mode—or a real card if testing in live mode. Verify that invoices and receipts generate correctly and appear in the “Donors” list. Check that donor email confirmations include your organization’s branding and custom messaging. Evaluate what happens if a donor abandons the form mid-process: does the page reload gracefully? Are partial entries saved, allowing donors to complete the process later? Examine edge cases such as expired credit cards, incorrect CVV entries, and invalid email addresses. By conducting these tests on both desktop and mobile, you ensure that once you announce your fundraiser, donors experience a smooth, error-free giving process.
Harnessing Advanced Features: Recurring Donations and Donor Management
One of Donorbox’s standout advantages is its robust functionality for recurring giving. To enable this, simply activate the “Recurring Donation” toggle within the “Donation Levels” section. You can set recurring intervals—monthly, quarterly, or annually—and let donors choose which frequency suits them. Recurring donors often become your organization’s most reliable supporters; their consistent gifts provide predictable revenue streams. Periodically run reports in the “Reports” tab to identify these loyal contributors and send them special acknowledgments. Speaking of reports, Donorbox’s donor management tools let you filter by donation date, gift amount, or campaign, making it convenient to export lists for email marketing or grant proposals. Integrate Donorbox with your CRM or email platform (e.g., Mailchimp, Salesforce, or Bloomerang) via Zapier or Donorbox’s native integrations. This synchronization automates donor segmentation, ensuring that thank-you emails, newsletters, and campaign updates reach the right audience at the right time.
Engaging Donors Beyond the Click: Thank-You Pages and Follow-Up
Customization doesn’t end once a donor clicks “Donate.” Under “Settings,” configure the “Thank You” page that appears immediately after a successful donation. Craft heartfelt, concise messaging that expresses gratitude, reiterates impact, and invites donors to share the campaign on social media. Include social sharing buttons with prepopulated text, making it effortless for supporters to broadcast their generosity. Additionally, set up “Autoresponder Emails” to follow up with donors 24–48 hours after their initial gift. In these follow-ups, provide more context about how their contributions will be used, share a brief success story, and offer optional next steps—such as signing up for your newsletter or attending an upcoming event. By continuing the conversation, you transform one-time donors into long-term advocates, ultimately increasing the lifetime value of each supporter.
Tracking Performance and Iterating for Greater Impact
Launching your Donorbox form is just the beginning; continuous optimization ensures you capture every available donation. Use Google Analytics to monitor traffic sources to your donation page. Set up a custom goal in Google Analytics—such as “Thank You Page Visit”—to track conversion rates. Analyze which channels drive the most contributions: organic search, social media referrals, email newsletters, or direct traffic. If you notice low conversions from specific sources, experiment with alternative headlines, button colors, or image placements. A/B testing can be insightful: duplicate your campaign, modify one element (like suggested donation levels), and compare performance over a week. Leverage Donorbox’s built-in “Insights” section to view donation trends—peak donation days, average gift size, and total campaign progress. Use this data to fine-tune your strategy: send targeted appeals on high-traffic days, adjust suggested amounts based on average gift size, and refresh campaign visuals if engagement begins to wane.
Troubleshooting Common Hiccups During Setup
Even with a streamlined platform like Donorbox, you might encounter occasional setup challenges. If your embedded form fails to load, check whether your website’s content security policy (CSP) or ad blocker plugin is preventing iframes from rendering. Whitelist donorbox.org or temporarily disable conflicting plugins to isolate the issue. If your payment processor is declining valid donations, ensure your Stripe or PayPal account is fully verified—missing business details or unverified email addresses can block transactions. In rare cases, security settings on your domain may prevent external form loading; contact your web host to allow iframe embedding. Should custom fields fail to appear, revisit your campaign’s “Form Fields” section to confirm they’re toggled on and correctly labeled. When in doubt, consult Donorbox’s comprehensive Help Center or submit a support ticket; their team is renowned for prompt, knowledgeable assistance.
Sustaining Momentum with Ongoing Engagement
A successful donation form setup doesn’t guarantee perpetual giving—you need to nurture donor relationships over time. Segment your donor list into first-time contributors, one-time givers, and recurring donors. Send tailored communications: a personalized welcome packet for first-time donors, a mid-year impact report for one-time givers, and exclusive behind-the-scenes updates for recurring supporters. Host periodic virtual or in-person “Donor Appreciation Events” to showcase progress—perhaps a livestream fundraising update or a local meet-and-greet with beneficiaries. Encourage your core supporters to become ambassadors: offer shareable graphics, social media toolkits, and sample posts to make it easy for them to advocate on your behalf. As you introduce new initiatives—like launching an annual gala or expanding into a new service area—loop in your Donorbox database early, so donors feel like valued partners rather than afterthoughts.
Final Reflections: Building a Sustainable Donorbox Ecosystem
Setting up a Donorbox donation form is more than a technical task—it’s an opportunity to create an immersive giving experience that resonates with your supporters. From crafting a magnetic headline and designing custom fields to embedding your form seamlessly and activating recurring donations, each step contributes to a user-friendly journey. By prioritizing mobile optimization, rigorous testing, and transparent communication, you minimize friction and maximize contributions. Once your form is live, ongoing analysis and iterative refinements become second nature, ensuring your fundraising efforts stay nimble and responsive to donor behavior. Remember that a well-optimized Donorbox form is not just a one-time launch—it’s the foundation of a sustained online fundraising ecosystem. With these insights in hand, you’re ready to leverage Donorbox’s powerful tools, engage donors authentically, and bring your mission to life—one donation at a time.